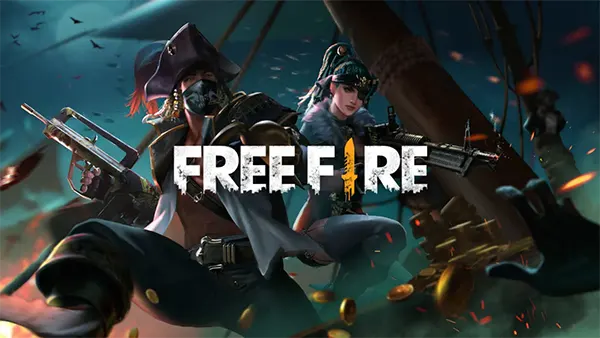
Free Fire: How to Play Aggressively Without Throwing the Match Early
Playing aggressively in Free Fire can win you fights, secure early loot and put pressure on weaker squads. But uncontrolled aggression is also the fastest way to get eliminated in the first three minutes. In 2026, with the current ranked meta, character balance updates and tighter early rotations, smart aggression is about timing, positioning and resource control. This guide breaks down how to push hard without turning every hot drop into a short-lived mistake.
Understanding Early-Game Risk and Map Control
The first phase of a Free Fire match is defined by landing choices and immediate positioning. Dropping into high-traffic zones like Clock Tower, Peak or Factory can be profitable, but only if you land with a plan. Aggressive play starts before you touch the ground: track enemy parachutes, count squads, and adjust your landing spot within the same area to avoid being surrounded.
In 2026, map knowledge matters more than raw aim. Updated loot distribution and slightly reduced early armour spawn rates mean you cannot rely on finding Level 2 gear instantly. An aggressive start should prioritise securing a weapon within the first 10–15 seconds, then taking control of a building with cover and multiple exit options.
True early aggression is not about chasing every sound. It is about isolating 1v1 or 2v1 scenarios. If two enemy squads are fighting nearby, wait for knockdowns, then push when they are reviving or healing. Controlled third-party engagements are far safer than blind pushes into full-health teams.
Choosing Smart Drop Zones for Aggressive Players
If you prefer consistent fights without instant chaos, mid-tier hot zones are ideal. Locations slightly off the main flight path still attract players but rarely full squads. This allows you to fight early without being pinched from three directions.
When playing ranked mode, consider landing near the edge of a high-traffic area instead of directly in the centre. For example, instead of landing on the tallest Clock Tower building, land in the outer warehouses, loot quickly, then rotate inward once you are armed.
Aggressive players should also memorise vehicle spawn points. If a fight goes wrong, having instant mobility prevents early elimination. Survival is part of smart aggression — retreating is not weakness, it is tempo control.
Loadout Priorities and Fast Loot Discipline
Many players lose early fights because they over-loot. Aggression requires speed. Your first objective is a close-range weapon — shotgun or SMG — plus enough ammo for at least two engagements. Do not waste time searching for a “perfect” setup in the first minute.
In the current weapon balance, SMGs like MP40 or Vector remain dominant in tight spaces, while shotguns reward confident peeks. Assault rifles are more valuable once the first zone begins shrinking. Early aggression is usually decided indoors, not at mid-range.
Another key factor is utility. Carry at least two gloo walls before pushing aggressively. In 2026 competitive lobbies, gloo wall placement separates reckless players from controlled attackers. A quick wall after a knock can secure a revive, block a third party, or allow you to armour swap safely.
Character Skills That Support Aggressive Play
The current character meta favours combinations that boost mobility and sustain. Abilities that increase movement speed after knocks or provide quick HP recovery allow you to chain fights instead of stopping to reset completely.
Pairing a defensive passive skill with an aggressive active ability creates balance. For example, combining a shield-based skill with a mobility boost helps you enter fights safely and reposition quickly if things turn chaotic.
Squad synergy also matters. If one teammate runs a support healing skill, the rest can play more aggressively knowing recovery is available. Aggression becomes far more effective when coordinated rather than individual.
Decision-Making in Early Fights
The difference between smart aggression and match-throwing behaviour lies in decision speed. Before pushing, ask three silent questions: Do I know how many enemies are alive? Do I have cover? Is there a third squad nearby? If you cannot answer at least two, slow down.
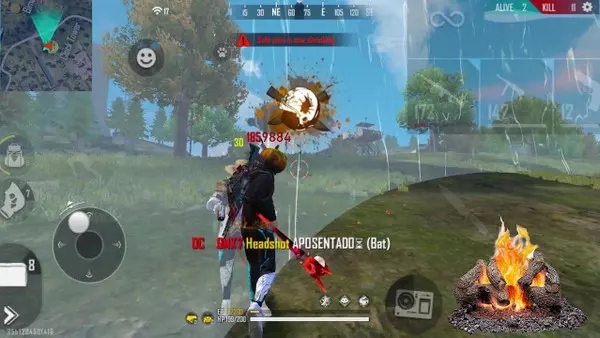
Use sound cues intelligently. Footsteps above you usually mean a player holding a head-glitch angle. Instead of rushing upstairs blindly, bait movement, throw a gloo wall to block sightlines, or force them to drop. Controlled pressure forces mistakes.
After securing a knock, avoid instant thirsting unless it is safe. Many early eliminations happen because players overcommit to finishing instead of repositioning. Securing area control is often more valuable than confirming one elimination.
How to Reset After a Risky Push
If a push becomes messy, resetting properly keeps the match alive. Immediately create space using gloo walls or vertical movement. Heal first, reload second, reassess third. Panic spraying rarely wins extended early fights.
Armour swaps are critical in aggressive play. Instead of healing a broken vest, quickly swap with a downed enemy’s armour. This tactic, widely used in high-tier ranked and tournament play, allows you to stay in combat momentum.
Finally, know when to disengage completely. If you lose a teammate early and multiple squads rotate in, preserving rank points and rotating to the next zone is smarter than forcing revenge fights. Aggressive players who survive past the first zone often dominate mid-game because they already hold superior loot and confidence.
Similar articles
-
 Farlight 84 — Combat Dynamics an...
Farlight 84 has established itself as a distinctive …
-
 Nintendo Switch 2: What Has Actu...
The original Nintendo Switch has remained relevant for …